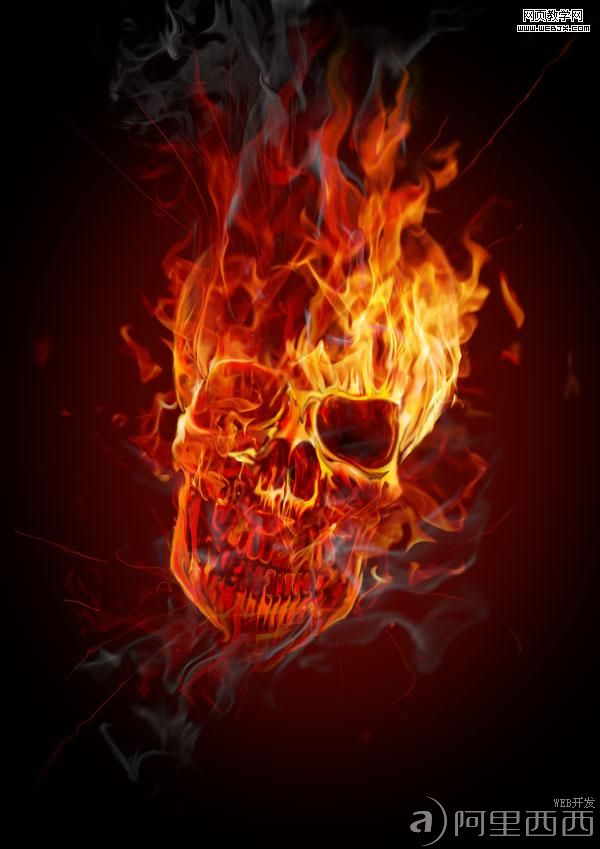
photoshop制作恐怖的燃烧骷髅头
日期:2013-06-16 浏览次数:21070 次
Step 1
For this tutorial, I used Photoshop CS3, a skull from Designious.com (you could choose to use a free skull though, such as Skull Vector Pack 1) and some hi-res flames images. The high-res image files are available to Psd Plus members in the download pack. Though non-members are certainly welcome to shoot your own flame photos or find some stock to use here, so you can follow along.
To get things started, create a new document 210mm by 290mm with a 100% black background.
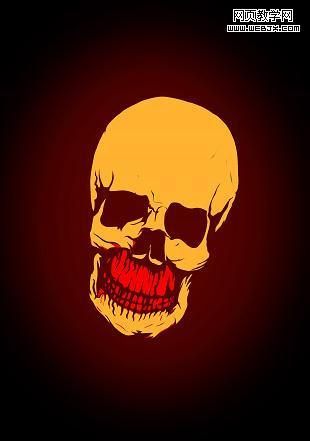
Step 2
Copy (Command + C) and paste (Command + V) the vector from Illustrator to Photoshop as pixels.

Step 3
On a new layer create an ellipse filled with dark red (#4c0400) that surrounds the skull. Next, apply a Gaussian Blur of 250px (maximum value), and place that layer under the skull.

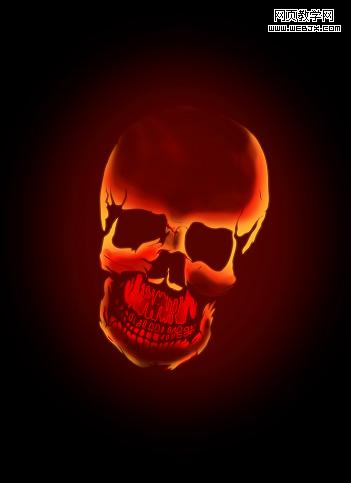
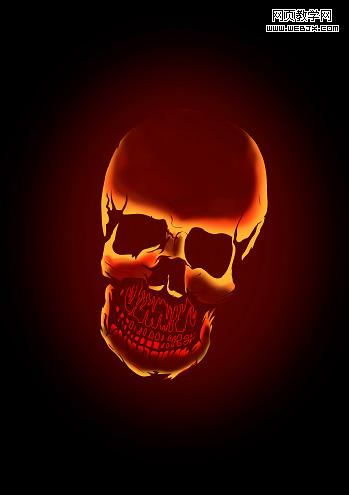
Step 4
Let's prepare the skull for the flames. Select the white color from the skull. (Select > Color Range) and fill it with an orange-yellow color(#f9ae31), except the teeth and mandible that will be filled with light red (#e82b19).
Step 5
Select the red area using Select > Color Range and then contract using Select > Contract > with 4 px, then and Delete.

Step 6
Select the yellow color. Next use a Brush with Toll on 250-300 px, Hardness of 0, Opacity at 10-15%, red for the color (d02207), and gradually color from the interior towards the exterior, until you get a skull with a bit of glow.

Step 7
Lets try to add some volume to the skull. Use the Eraser Tool with a diameter of 200px, Hardness of 0, and Opacity of 70%, and erase some of the red. Here we establish the lighter and darker parts of the skull so we can see some volume.
Step 8
Now double the Skull layer. Select the skull closest to the background and apply a Gaussian Blur of 8-10 px to create a glow.
Select the area under the nose including the teeth. Now grab a 80px Brush with a color of red (#d02207). Brush color on the right and left sides creating a soft gradient that ads depth to the lower part of the skull.